Introduction
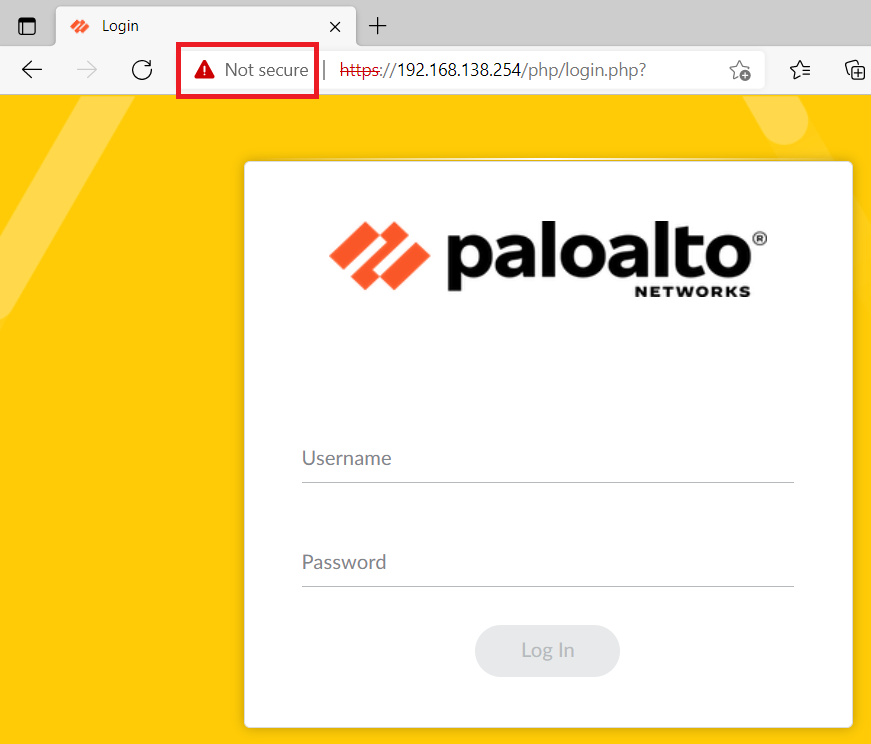
Untrusted websites always suck, whether you run into them online or within your organization, so in this article, we are going to take a look at issuing a proper certificate to our Palo Alto firewall's web interface, and replace the self-signed certificate that is used by default.
We will not be going through the basics of digital certificates here, you will have to learn those concepts beforehand.
Import Root/Intermediate Certificate(s)
Depending on which Certificate Authority (CA) is going to sign your Certificate Signing Request (CSR), this step might be pushed to later on, just before you are about to import the actual certificate that will be used by the firewall's web interface.
If you are signing your CSR and issuing your certificate using a Root or Intermediate CA that you yourself are already aware of (which we will be doing here), you can proceed with importing those CA certificates into the trusted store of your firewall right away.
Get hold of your Root and Intermediate certificate files, and then navigate to DEVICE > Certificate > Certificate Management > Device Certificate and click on Import in the bottom menu.
Set Certificate Type to Local and give the Root certificate a Certificate Name and select the Certificate File, which you should've had ready on your computer by now. Your Root certificate should be in .PEM encoding and this needs to be selected in the File Format list.
Click on OK to proceed with the import.
Repeat this step for your Intermediate Certificate, if there is one.
Due to my lab environment being a bit simpler than production networks of the real world, I only have a Root CA that serves as both the Root and the Intermediate (Issuing) CA.
If you are getting your CSR signed by a trusted third-party CA, you might not know which root and intermediate CA they will use to sign your CSR since most certificate providers have more than one root and intermediate CAs to form the chain of trust. In that case, as mentioned, you will have to import the root and intermediate certificates just prior to importing the actual certificate that will be used by the firewall's web interface.
Create Certificate Signing Request
Next up, we are going to create the CSR to be submitted to the CA for signing.
Navigate to DEVICE > Certificate Management > Certificates and click on the Generate button at the bottom. A window will pop up with different settings and parameters for creating your CSR.
Fill in the different parameters to fit your needs. Give the CSR a Certificate Name and select a Common Name. Common Name should be the IP or FQDN (DNS name) that you use to connect to your firewall's web interface. However, in this time and age, Subject Alternative Name (SAN) serves a similar purpose as Common Name, allowing us to enter multiple Names or IP addresses in the certificate, more on that further down.
Make sure to change the parameter Signed By to External Authority (CSR).
Now it is time to add a few Certificate Attributes. These are values that will be etched into the certificate when it is signed and issued.
Click on the +Add button to add values/attributes like Organization, State, Country, and so on, but the most important ones are the Subject Alternative Names (SAN).
If you have multiple names for your firewall in your DNS servers or simply want to be able to connect to the firewall using either a DNS name or directly using the IP address, you can add those kinds of values in the SAN fields.
All in all, these are the complete parameters for the CSR ion my case:
Certificate Name = Admin-Web-Interface
Common Name = paloalto.labb.local
Organization (O) = WiresAndWifi
Organization Unit (OU) = Labb
Locality (L) = Karlstad
State (ST) = Wermland
Country (C) = SE (Sweden)
Subject Alternative Name (SAN) DNS = paloalto.labb.local
Subject Alternative Name (SAN) IP Address = 192.168.138.254
With this, the certificate looks properly structured, and we will be able to connect to the firewall's web interface using either the DNS-name "paloalto.labb.local" or the IP address 192.168.138.254.
Click on Generate when you have added all the attributes that you want to use.
Export CSR from firewall to file
To get our CSR signed, and the certificate issued, we need to export it from the firewall to be able to submit it.
Navigate to DEVICE > Certificate Management > Certificates > Device Certificates and locate your CSR by looking for a certificate that is written in an orange font or has the STATUS of "pending".
Highlight the certificate and click on Export Certificate in the bottom menu.
What is actually being exported now is the CSR.
The CSR will now be downloaded to your browser's download folder. If you open it up in Notepad or similar software, you can see the ASCII content of it.
Using the CSR, we will submit it to a Certificate Authority to get a certificate issued to us.
Get CSR Signed by a CA
Since we are dealing with the certificate for the administrative web interface, we are going to use an internal CA in the form of a Microsoft Active Directory + Certificate Services server in my lab to sign the CSR and issue the certificate (using the Web Server template). Installation of this type of server will not be covered here.
After submitting the CSR, I am able to download the certificate file (in Base64 encoding) locally to my computer.
Bind Certificate to CSR
When we have the certificate file, we need to bind it to the CSR that was made by the firewall to complete the certificate file installation.
Navigate to DEVICE > Certificate Management > Certificates > Device Certificates and click on Import in the bottom menu.
To properly bind the certificate to the CSR, we must now enter the Certificate Name field EXACTLY like the original name of the CSR, which you can see in the background ("Admin-Web-Interface"), otherwise, the import will fail.
Select the Certificate File from your computer and set the File Format to PEM. Since the private key already resides inside the firewall itself (because the CSR was made by the firewall), you can skip filling in the private key options.
Click OK to finish.
Your certificate should now be properly installed, and you should see that it falls under the Root/Issuing certificate(s) installed earlier.
Create SSL/TLS Service Profile
To make the firewall use the newly installed certificate for its administrative web interface, we need to create a so-called SSL/TLS Service Profile (which contains our certificate) and then attach it to the web interface.
Navigate to DEVICE > Certificate Management > SSL/TLS Service Profile and click on the +Add button in the bottom menu.
Give the Profile a fitting name and select your new certificate in the Certificate List.
Click on OK when you are done.
Activate New Web Interface Certificate
The last step is to attach the new certificate to the web interface.
Navigate to DEVICE > Setup > Management and click on the gear in the General Settings section.
In the SSL/TLS Service Profile parameter, select the Profile that was created earlier.
When you are done, click on OK and then click on Commit in the top right corner to activate your configuration.
This will restart the Web Interface since the certificate will change.
After a minute or so, we can now confirm that the connection to the firewall is now secure and that the new certificate is being used.
And now, we are done!